

Grout starts white and spends the rest of its life arguing otherwise. It sits in the one spot in your bathroom that gets splashed, walked on, and never quite dried — and by the time you notice it's dark, it's been working on that look for about six months. The good news: cleaning grout with baking soda gets most of it back. Here's exactly what to do.
Baking soda is a mild abrasive with a naturally alkaline pH. That combination loosens the bond between surface grime and porous grout without scratching tiles or damaging the grout itself. No fumes, no gloves required, and nothing you can't buy for under two dollars.
The short version
Mix baking soda with a little water into a thick paste. Apply to grout lines, let sit 5–10 minutes, scrub with a stiff brush, rinse well. For heavier buildup, spray white vinegar over the paste after scrubbing — the fizzing lifts loosened grime. Safe on ceramic, porcelain, and standard cement grout. Avoid vinegar on natural stone surrounds.
In this guide
Why Grout Gets Dirty Faster Than the Rest of the Bathroom
Grout is porous by design. It has to be — a rigid, sealed material between tiles would crack under the small amounts of movement that happen in any building. That porosity means grout absorbs moisture, soap residue, body oil, and whatever else your bathroom produces daily.
Light-colored grout makes this very visible. The main contributors are soap scum (a film from minerals in hard water reacting with soap), mold and mildew in damp areas, and foot traffic on floor grout. Once moisture gets in and the grout stays consistently damp — which describes most bathrooms — discoloration accelerates.
There's no single miracle fix. But baking soda works into the texture of grout in a way most liquid sprays can't — the fine abrasive particles physically scrub the surface while the alkalinity helps break down organic buildup. It's slow enough to be safe, effective enough to make a visible difference.
What You Need (Two Ingredients, Maybe Three)

- Baking soda — the main cleaner. Standard grocery-store bicarbonate of soda.
- Water — to make the paste. A tablespoon or two.
- White vinegar (optional) — for heavier staining. Undiluted, in a spray bottle.
- A stiff brush — an old toothbrush works fine. A dedicated grout brush covers more ground faster.
- Warm water for rinsing.
That's the full list. No specialty equipment, no toxic fumes, nothing that needs a ventilation window open. If you already have baking soda and vinegar in the kitchen — and most people do — you're already set up.
Natural stone caveat: The baking soda paste is safe on natural stone (marble, travertine, limestone). The vinegar step is not — acid etches polished stone surfaces. Use only baking soda and water on stone tiles and stone-adjacent grout.
How to Make and Apply the Paste — Step by Step
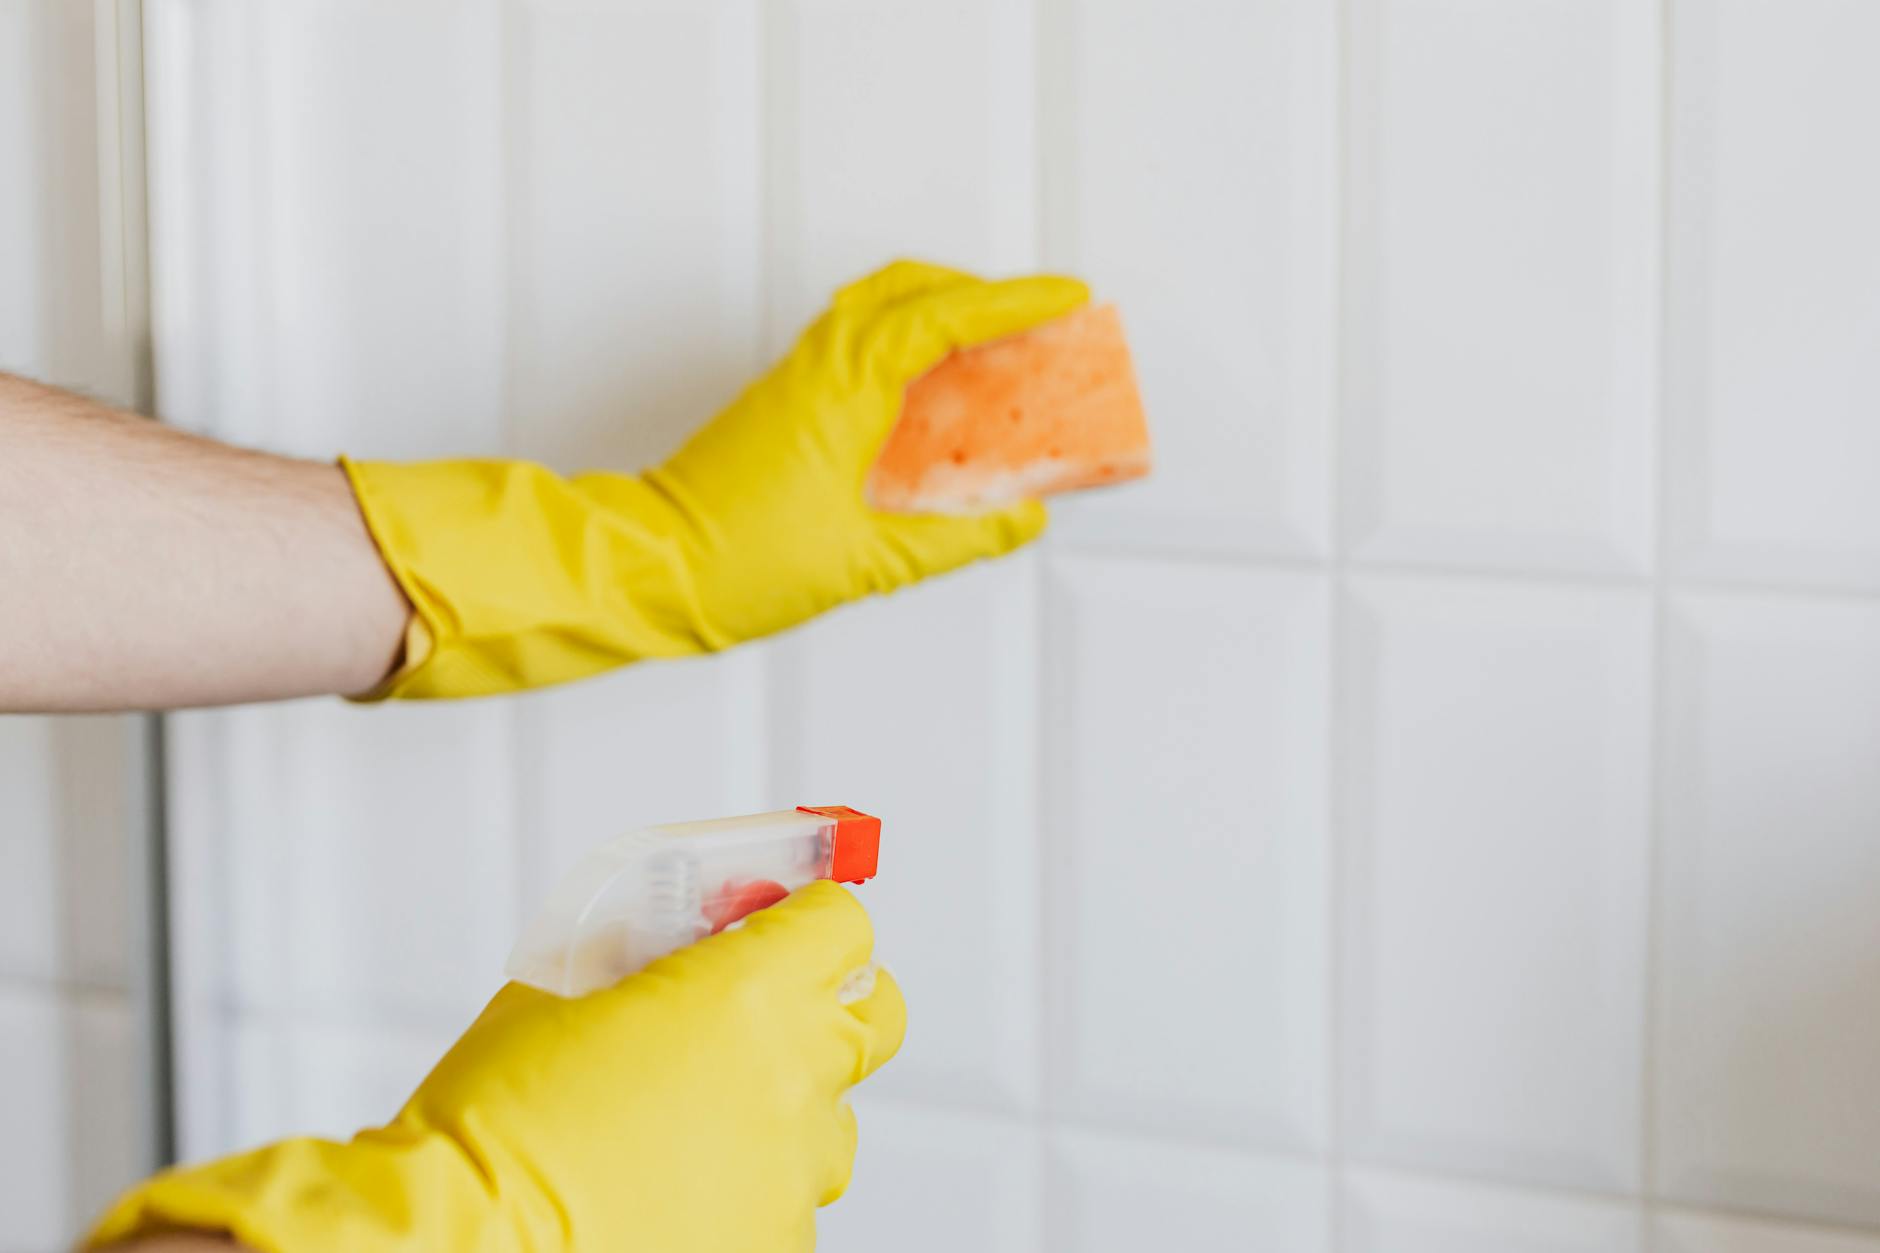
-
1
Mix the paste.
Combine 3 parts baking soda with 1 part water in a small bowl. Target: a thick paste that stays on a brush without dripping. If it runs, add more baking soda. -
2
Apply directly to the grout lines.
Work in sections — one wall panel or a 1-square-meter floor area at a time. The paste dries out if you cover too much ground at once. -
3
Let it sit for 5–10 minutes.
The alkalinity starts loosening grime before you touch a brush. Don't skip this step — it does real work. -
4
Scrub along the grout lines.
Circular motions, firm pressure. The goal is to lift what's sitting on the surface — not to sand the grout down. If it's not lifting, the staining may be deeper than surface level (see section five). -
5
Rinse thoroughly with warm water.
Leftover baking soda dries as a white film. Rinse until the water runs clear and the surface no longer feels powdery.
For wall grout, work top to bottom so rinse water doesn't re-dirty areas you've already cleaned. For floor grout, rinse and mop the section before moving to the next.
The Vinegar Trick That Actually Does Something
After scrubbing the paste in — but before rinsing — spray undiluted white vinegar directly over the grout. The baking soda and vinegar react, producing carbon dioxide, and you get a brief visible fizz along each grout line. That fizzing action helps push loosened grime up and out of the grout texture. (It's also, technically, a science experiment. Feel free to narrate it dramatically. Nobody's watching.)
The key thing to understand: the fizzing reaction is what you're using, not some combined chemical super-power. Baking soda and vinegar neutralize each other, so the end product is mostly water and carbon dioxide. The benefit is entirely mechanical — the bubbles dislodge grime the scrubbing loosened. Either ingredient alone still cleans. The combination is most useful when buildup is moderate to heavy.
Let the fizzing settle for 30 seconds, then rinse well. Don't let the vinegar sit on grout for extended periods — it can slowly break down cement grout over time.
Between deep cleans
After scrubbing, rinsing, and drying, a quick spritz of Gentle Sen HOCl spray along the grout lines helps create a cleaner surface environment between baking soda sessions. Non-toxic, fragrance-free, no residue — safe around kids, pets, and people with sensitive skin. Dissolve one tablet in 20 fl. oz. of water and you have a fresh batch on demand.
When Baking Soda Won't Be Enough
Baking soda handles surface discoloration well. It doesn't penetrate deep enough to address mold that has taken hold below the surface of the grout, or to remove years of buildup where the grout is physically stained all the way through.
Signs you may be past the baking soda stage:
- The grout still looks dark after scrubbing, rinsing, and drying
- Black staining that doesn't lift at all — this is often mold deeper in the grout, not surface grime
- Cracked or crumbling grout — the fix at that point is regrouting, not cleaning
For stubborn staining, a paste of 1 part hydrogen peroxide (standard 3% drugstore variety) to 2 parts baking soda, left on for 15 minutes before scrubbing, goes a step further than baking soda alone. Don't use this on colored or pigmented grout without testing a hidden section first — the peroxide can lighten dye.
For grout that's genuinely too far gone, tile contractors regrout affected sections as a routine job — it's faster and less expensive than replacing tile, and far less dramatic than it sounds.
How to Keep Grout Cleaner for Longer

Grout has a long memory for neglect. Monthly light maintenance is a far easier job than a quarterly rescue operation.
- Rinse bathroom walls after every shower — a 10-second spray of clean water dramatically reduces soap scum accumulation on wall grout.
- Run the exhaust fan — dry grout stays cleaner and resists mold longer than grout that stays damp for hours after a shower.
- Seal grout once a year — grout sealer is a 10-minute job that significantly slows future staining. Worth doing in bathrooms and kitchen backsplashes especially.
- Wipe floor grout during regular mopping — catching surface grime before it dries into the texture keeps baking soda sessions short and occasional rather than long and frequent.
The baking soda paste method works best as a monthly reset, not a once-a-year emergency. Starting from a badly stained surface may take two or three rounds before you see significant improvement — that's normal, not a sign the method isn't working.
Questions We Get a Lot
How long should I leave baking soda on grout before scrubbing?
5–10 minutes is the right window. Long enough for the alkalinity to start loosening grime from the grout surface, short enough that the paste doesn't dry out completely and become difficult to remove. If you're cleaning large floor areas, work in sections so the paste doesn't dry before you get to it.
Does baking soda scratch tiles or damage grout?
No — baking soda is fine enough to use as a gentle abrasive without scratching standard ceramic or porcelain tiles. It won't damage standard cement grout with normal scrubbing pressure. Avoid using it aggressively on soft, polished stone such as marble or limestone, where even mild abrasives can dull the finish over time.
What's the fastest way to clean grout?
Baking soda paste plus a stiff grout brush. Work in small sections, let the paste sit before scrubbing, and rinse thoroughly. There is no method that removes the need for mechanical scrubbing entirely — that's simply the nature of porous grout. Tools like electric toothbrushes or grout cleaning attachments for drills can speed up the scrubbing step considerably.
How do I get my grout white again?
For mildly discolored grout, the baking soda paste method restores most of the original color. For deeper staining, try a paste of 1 part hydrogen peroxide (3%) to 2 parts baking soda — apply, leave for 15 minutes, scrub, and rinse. Grout that's stained all the way through the material itself may need professional regrouting, which is a standard repair rather than a renovation.
Does hydrogen peroxide damage grout?
Standard 3% hydrogen peroxide (the kind in a brown bottle from any pharmacy) does not damage standard cement grout. Don't use it on colored or pigmented grout without testing a hidden area first — hydrogen peroxide can lighten dyes. Also avoid it on natural stone; use plain baking soda paste instead.
Can I use baking soda on colored or dark grout?
Yes, with a small caveat. Baking soda itself won't strip pigment from colored grout. Heavy mechanical scrubbing, however, can sometimes lift dye from pigmented grout that's starting to wear. Test a hidden area first, and use moderate rather than aggressive scrubbing pressure.
Is baking soda safe for natural stone grout?
The baking soda and water paste is safe for natural stone surrounds. The vinegar step is not — acids (including white vinegar) can etch marble, travertine, and limestone, dulling polished surfaces permanently. When cleaning natural stone tile areas, use baking soda paste only, skip the vinegar entirely, and rinse thoroughly.
How often should I clean grout with baking soda?
Once a month for active bathroom grout is a reasonable starting point. Floor grout in a busy kitchen or mudroom may need attention every two to three weeks. Regular light cleaning keeps each session short. Waiting until grout is visibly dark makes the job significantly harder and may require multiple rounds to restore.
Start With One Section
Pick one wall panel or a half-meter floor strip. Make the paste, let it sit, scrub, rinse. See what comes off. Most people are surprised by how much surface discoloration moves in a single round — and how quick the method actually is once you're not starting from a heavily stained baseline.
Grout doesn't forgive irregular cleaning, but it responds well to a consistent approach. A baking soda reset once a month, a rinse-down after every shower, and a sealed surface once a year is the full system. Grout has a long memory for neglect — but fortunately, so do the people who clean it.
If you want a non-toxic spray to maintain grout and other surfaces between deep cleans, Gentle Sen HOCl tablets dissolve in water in two minutes and leave no residue. Fragrance-free, safe on food-contact surfaces, and kind to people with sensitive skin.
Sources
- Sodium Bicarbonate — PubChem, National Center for Biotechnology Information
- Tile and Installation Systems Maintenance — Tile Council of North America
- Safer Choice Program — U.S. Environmental Protection Agency
Disclaimer: This article is for informational purposes only and does not constitute professional advice. Gentle Sen products are multi-purpose household cleaners. Always follow product instructions. Test cleaning methods on a small, hidden area before treating an entire surface. If grout damage or significant mold is present, consult a professional.
0 comments